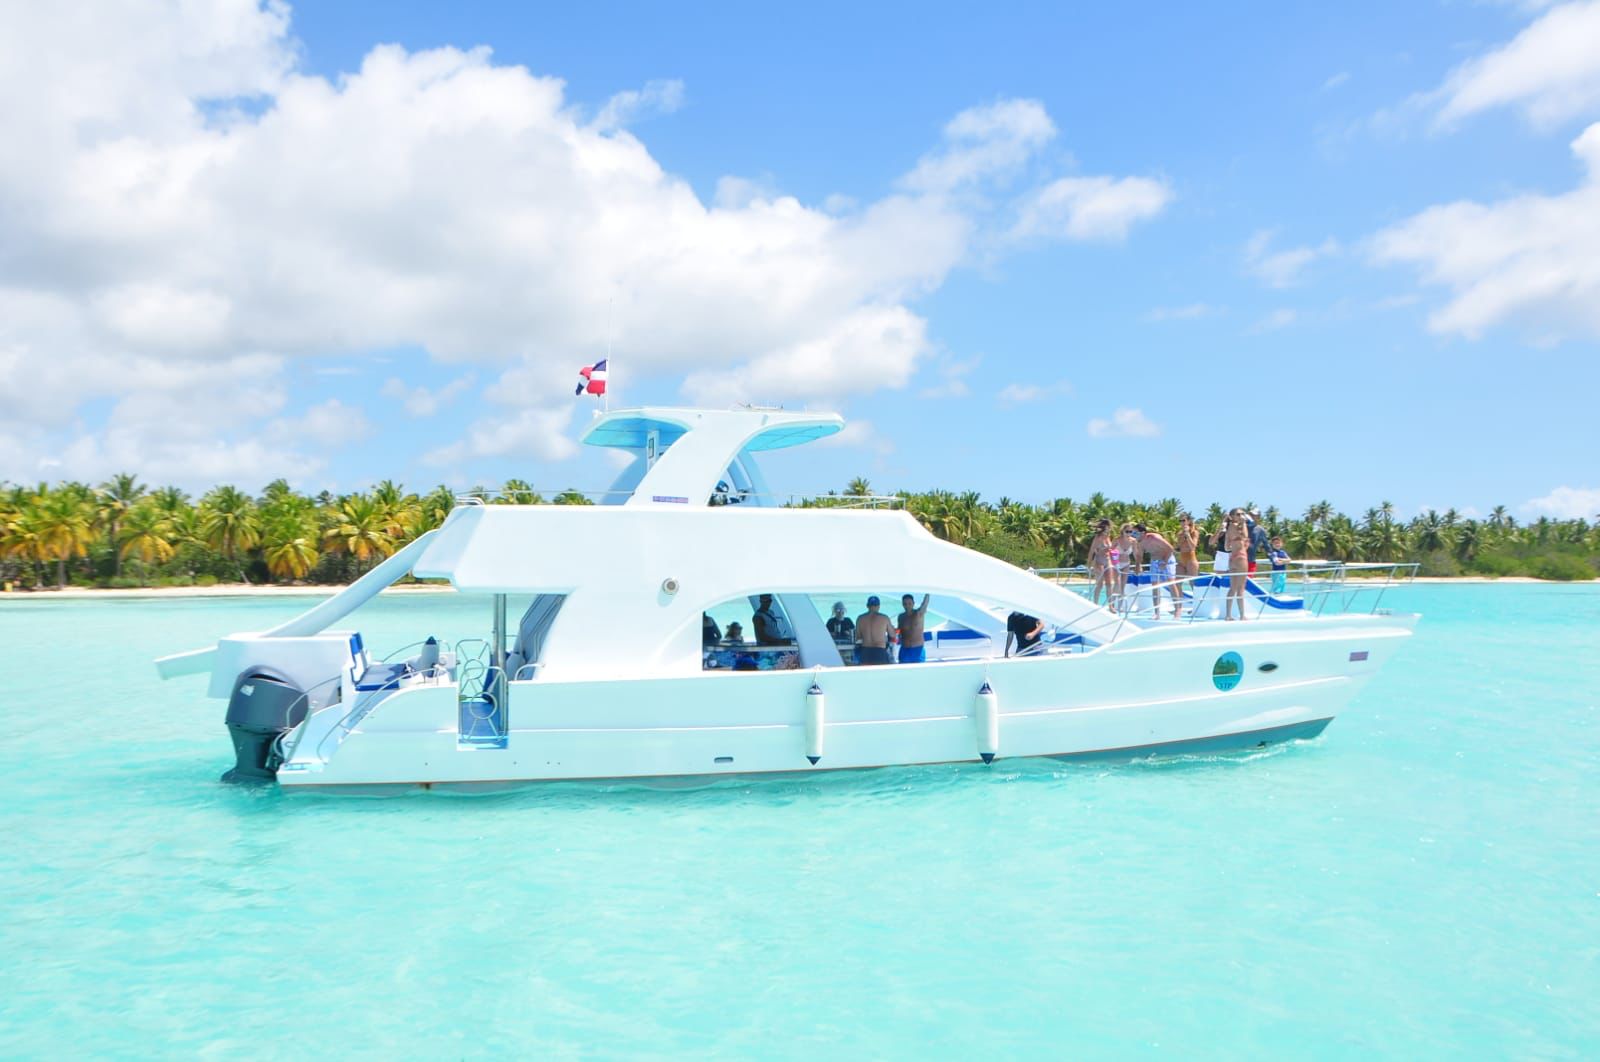
Saona Island Photography Guide: Tips for Better Travel Photos
Saona Island is a memorable destination for travelers who love turquoise water, tropical scenery, palm-lined coastlines, and Caribbean island experiences. Whether you use a smartphone or a professional camera, thoughtful planning can help you capture photographs that reflect the atmosphere of your visit.
A successful Saona Island photography experience is not just about finding a beautiful background. Lighting, composition, camera protection, timing, and respect for the natural environment all play important roles.
This guide explains how to prepare for photography on Saona Island, choose your shots, protect your equipment, and create more meaningful travel memories.
1. What Makes Saona Island Interesting for Photography?
Saona Island offers several types of visual scenes that can add variety to a travel photo collection.
Coastal landscapes: Capture the relationship between the shoreline, open water, sky, and sand. Wide compositions can communicate the scale of the landscape.
Tropical scenery: Palm trees, coastal vegetation, and natural textures can help create a sense of place.
Boat journeys: Photographs taken during the journey can document the experience of traveling to the island. Always prioritize safety and follow your crew's instructions.
Travel portraits: Couples, friends, and families can use the scenery as a backdrop for natural, candid portraits.
Small details: Footprints in the sand, sunlight reflecting on the water, beach textures, and details of your travel gear can add variety to a photo story.
For official destination information, consult the Dominican Republic's tourism page for Isla Saona.
2. Choose the Right Time to Take Photos
Light has a major influence on the appearance of tropical landscapes. The same location can look different depending on the sun's position, cloud cover, and weather conditions.
Morning light
Morning light can be useful for softer-looking portraits and beach scenes, depending on the weather and the direction of the sun. If your excursion schedule allows, take a few photographs soon after arriving rather than waiting until the end of your visit.
Midday sunlight
Strong overhead sunlight can produce harsh facial shadows and bright reflections on the water. To improve your results:
- Look for open shade when photographing people.
- Keep the sun at an angle rather than always shooting directly toward it.
- Tap your phone screen to focus on the main subject and adjust exposure if needed.
- Avoid overexposing bright sand and reflective water.
Midday light can still work well for colorful scenes and clear-water compositions when the exposure is controlled.
Afternoon light
Afternoon light may create warmer tones and longer shadows as the sun gets lower. The exact conditions depend on the season, weather, and your location on the island.
Do not assume your excursion will provide a sunset shoot. Check the tour itinerary and return schedule before planning around a particular lighting condition.
3. Smartphone Photography Tips for Saona Island
You do not need an expensive camera to take attractive Saona Island pictures. A modern smartphone can produce excellent travel photographs when you use it carefully.
Clean the lens first. Sunscreen, fingerprints, and sea spray can make images look hazy.
Use the main camera for landscapes. The standard lens often produces a more natural-looking image than heavy digital zoom.
Keep the horizon straight. A tilted horizon can make an otherwise beautiful beach photo feel unbalanced.
Avoid excessive filters. Strong saturation can make turquoise water look unnatural. Adjust color and contrast gently.
Use portrait mode selectively. It can work well for people, but check that hair and other fine details are not blurred incorrectly.
Take several compositions. Capture one wide view, one medium shot, and a close-up of an interesting detail. This creates a more complete record of the experience.
If your phone has grid lines, turn them on to help align the horizon and position your subject.
4. Camera Gear Worth Bringing
Your equipment should match the kind of photography you intend to do. For a typical day excursion, a lightweight setup is often more convenient than carrying several lenses and accessories.
Consider bringing:
- A smartphone or compact camera
- A fully charged battery
- Sufficient storage space
- A microfiber lens cloth
- A waterproof pouch or protective case
- A small dry bag for equipment
- A wrist strap or camera strap
- A portable power bank, if permitted and practical
A polarizing filter can sometimes reduce reflections and improve the appearance of water, but its usefulness depends on the angle of the sun and the equipment you use.
A drone is not automatically permitted just because you are visiting an island. Check applicable rules, protected-area requirements, and tour-operator restrictions before bringing or flying one.
5. How to Photograph the Beach and Water
Coastal photographs can look simple, but small compositional decisions make a difference.
Include foreground details
Instead of photographing only a large area of water, include a foreground element such as a pattern in the sand, a natural texture, or a suitable nearby object. This can give the image depth.
Use the horizon deliberately
Place the horizon higher in the frame when the foreground is the main attraction. Place it lower when the sky is visually interesting. Avoid positioning it randomly through a person's head or another important subject.
Watch the highlights
Sunlight reflecting off water can create very bright areas. Reduce exposure slightly when necessary so the brightest parts retain detail.
Avoid relying on digital zoom
Move to a safe and permitted position when possible, or crop the image later. Digital zoom can reduce detail, especially on distant subjects.
Capture more than one view
Try a wide landscape, a shoreline detail, and a photograph that includes people for scale. Together, these images can tell a stronger visual story than several nearly identical shots.
6. Taking Better Travel Portraits
Portraits can help preserve the personal side of your trip. The goal is to capture people naturally without making the photographs feel overly staged.
Position people thoughtfully. Leave some space around the subject so the tropical setting remains visible.
Use open shade when possible. Shade can reduce squinting and harsh facial shadows.
Try candid moments. Walking along a permitted section of the beach, looking out toward the water, or sharing a conversation can create more natural images.
Keep backgrounds simple. Check for distracting objects, crowded areas, and horizon lines that appear to pass through someone's head.
Ask before photographing strangers. Respect other visitors' privacy, particularly when children are present.
For couples and families, take a mixture of group portraits, individual pictures, and environmental portraits that show the surroundings.
7. Photographing the Boat Journey
The boat ride can be part of the overall excursion story, so consider taking a few photographs before arriving at the island.
Useful subjects include the boat from a permitted viewing position, the surrounding seascape, the wake behind the vessel, and candid photographs of your group.
Keep these safety rules in mind:
- Follow all crew instructions.
- Remain seated or in approved areas when required.
- Never lean over the side to get a better angle.
- Secure your phone and camera with a strap where appropriate.
- Avoid changing positions while the boat is moving unless the crew permits it.
- Protect equipment from splashes and saltwater.
A waterproof pouch helps protect against splashes, but it is not a guarantee against water damage. Test the pouch before your trip and follow the manufacturer's instructions.
8. Protect Your Phone and Camera from Sand and Saltwater
Sand and saltwater can damage equipment even when the weather is pleasant. Prevention is easier than repairing a damaged device.
Keep your phone or camera in a closed bag when you are not using it. Avoid placing equipment directly on the sand, and do not change lenses in exposed, windy conditions.
If your equipment gets wet, follow the manufacturer's care guidance. Do not charge a wet electronic device, and do not assume that a water-resistant rating makes it safe for saltwater exposure.
After the excursion, inspect your equipment and gently clean exterior surfaces according to the manufacturer's instructions. Avoid rubbing sand across a lens or screen.
If you plan to use your phone frequently, a secure protective case is a practical investment.
9. Create a Simple Saona Island Photo Checklist
A little planning can help you avoid returning home with dozens of nearly identical photographs.
Use this checklist as a starting point:
- One wide landscape photograph
- One photograph of the shoreline or water
- A few photographs of your group
- One or two natural portraits
- Photographs documenting the boat journey
- Close-ups of interesting natural textures
- A photograph that shows the overall atmosphere of the excursion
- A final check that your equipment and personal belongings are secure
You do not have to capture every item. Choose the scenes that matter most to you and enjoy the destination between photographs.
10. Photograph Responsibly in a Protected Natural Area
Saona Island is associated with Cotubanamá National Park, an important natural area in the Dominican Republic. Photography should not interfere with wildlife, vegetation, other visitors, or conservation efforts.
Keep these principles in mind:
- Stay in areas where visitors are permitted.
- Do not disturb wildlife to obtain a closer photograph.
- Never touch, chase, feed, or handle animals for a picture.
- Do not remove shells, plants, or other natural materials.
- Follow instructions from guides and park personnel.
- Avoid leaving equipment, packaging, or other waste behind.
- Respect signs, barriers, and restricted areas.
If you encounter wildlife, use a suitable zoom or photograph from a respectful distance. A photograph is never worth disturbing an animal or damaging its habitat.
You can learn more about the natural setting through the official Cotubanamá National Park information page.
11. Plan Your Excursion Around Your Photography Priorities
If photography is an important part of your visit, review the excursion details before booking.
Ask the operator about the planned itinerary, time available at each stop, boat arrangements, and any restrictions on photography equipment. Do not assume every excursion visits the same places or allows the same amount of time for taking pictures.
If you are traveling with a group, agree on a simple plan. For example, you might take landscape photographs first, group portraits afterward, and leave the final part of the visit for enjoying the surroundings without a camera.
You can start by reviewing the options on Saona Island Beach. Confirm the actual itinerary, included stops, departure arrangements, and any relevant restrictions directly with the operator before booking.
12. Common Saona Island Photography Mistakes
Taking every photograph from the same position: Change your angle, distance, and composition to make the collection more varied.
Ignoring the background: Check the entire frame before taking a portrait.
Using too much zoom: Excessive digital zoom may reduce image quality.
Forgetting equipment protection: Sand, spray, and accidental drops are avoidable risks with basic preparation.
Editing the water too heavily: Unrealistic colors may make the final image look less like the place you visited.
Focusing only on social media: Take photographs for your own memories, too. You do not need to document every moment.
Ignoring local rules: Always follow operator instructions and restrictions designed to protect visitors and the environment.
Frequently Asked Questions
Is Saona Island good for photography?
Saona Island can be appealing for travel photography because of its coastal scenery, tropical setting, boat journeys, and opportunities for portraits. The photographs you capture will depend on weather, lighting, your itinerary, and where photography is permitted.
Can I take good Saona Island photos with a phone?
Yes. A smartphone can capture attractive landscapes and portraits. Clean the lens, watch the exposure, keep the horizon straight, and protect the device from sand and saltwater.
What is the best time for Saona Island photography?
There is no single best time for every shot. Morning and later-afternoon light can be softer, while midday light can create strong contrast and reflections. Choose your approach based on your itinerary and the weather.
Should I bring a professional camera?
Bring one if you enjoy photography and can protect it safely. For a simple excursion, a smartphone or compact camera may be more convenient. Consider your equipment's weight, water protection, and storage needs.
Can I use a drone on Saona Island?
Do not assume drone use is allowed. Verify current regulations, protected-area rules, and any operator restrictions before your trip.
How can I protect my phone from seawater?
Use a suitable protective case or waterproof pouch, keep the phone secured, and avoid handling it over open water. Water resistance does not guarantee protection from saltwater damage.
Are there photography restrictions in the national park?
Rules may apply to particular locations, activities, equipment, and wildlife interactions. Follow posted signs and instructions from guides or park personnel, and verify specific requirements before your visit.
How can I plan a photography-friendly Saona Island excursion?
Compare itineraries and ask operators about the time available at stops, boat arrangements, and photography restrictions. Confirm the details directly rather than assuming every tour follows the same schedule.
Conclusion
Saona Island photography is about capturing the character of the experience, from coastal landscapes and boat journeys to portraits and small details. With a clean lens, sensible equipment protection, thoughtful composition, and respect for the environment, you can create a varied collection of travel photographs without making photography the entire purpose of your visit.
Before booking, review the excursion details and confirm any arrangements that matter to your photography plans. Then make time to put the camera away and enjoy Saona Island itself.
Ready to plan your visit? Explore Saona Island excursion options and confirm the itinerary and practical details with the operator before booking.
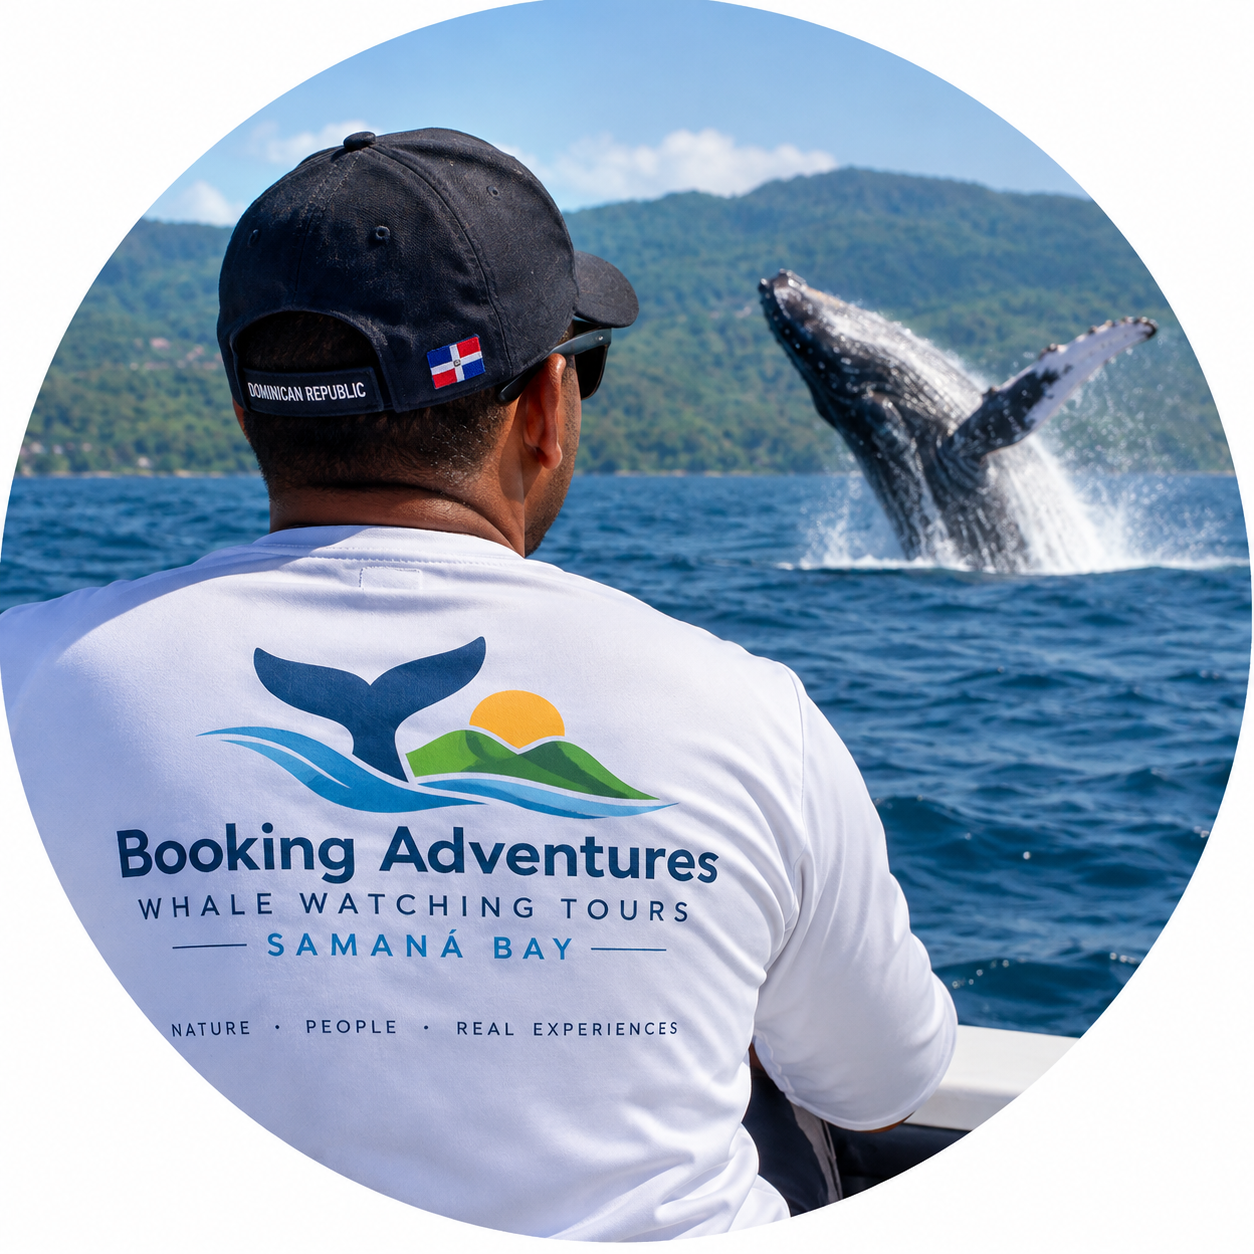
Local explorer & expert guide in Saona Island Beach.